Arduino Uno HC-06 Simple Example using Android Phone
Apr 22, 2016 By justin bauer
This post will provide a sample Arduino sketch that uses the software UART to communicate to a connected Android phone. The Android phone will be using a simple terminal app to receive and transmit data to the arduino. The total time to complete this tutorial should not take longer than 20 minutes assuming you already have and HC-06 or HC-05 bluetooth module. They can be purchased on Amazon for only $9 or so.
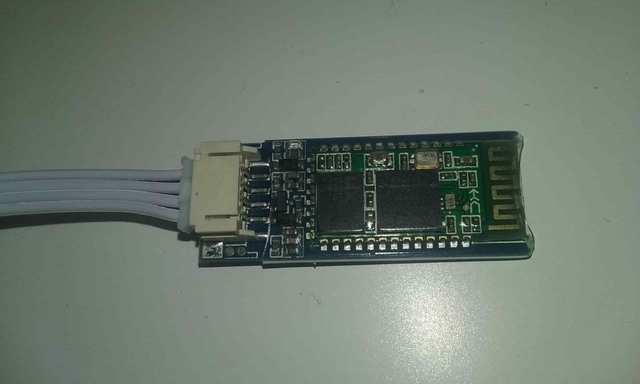
HC-06
The HC-06 is a hardware device that encapsulates a microcontroller running the Bluetooth software stack as well as a 2.4GHz antenna. It is manufactured by Guangzhou HC Information Technology Co., Ltd. A host device such as the PIC16F1829 can easily communicate with the HC-06 using a TTL serial communication. The HC-06 abides by the Bluetooth class 2 power level consumption. It requires ~40mA during pairing and 8mA in all other cases. It has an approximate range of 30 meters.

Commands
The HC-06 can operate in slave mode only, meaning it can only receive and send data to once connected device. The HC-06 is an extremely limited device and can only acknowledge a few configuration commands. The following commands are recognized:
| Command | Description |
|---|---|
| AT | Used to verify communication |
| AT+VERSION | Read firmware version |
| AT+NAMExyz | Set host name |
| AT+PINxxxx | Set pin number |
| AT+BAUDx | Set baud rate |
Interface
The module can be easily connected to the Arduino via its 2 RX/TX pins on the software UART. The Bluetooth module adheres to the "Serial Port Profile" (SPP), which means it can communicate to a connected device just like any other normal serial port.
Upon default, the HC-06 powers on with the following default settings:
Baud rate:9600N81, ID: linvor, Password:1234
There is no need to modify these settings unless otherwise required. I used the software UART on the Arduino since the bitrate for the bluetooth module is low at 9600 baud plus it frees up the hardware UART for optional debugging from your PC. You can easily switch this operation to using the on-board hardware UART. The table below shows the hardware connections
| Arduino Uno | HC-06 |
|---|---|
| TX (pin4) | RXD |
| RX (pin2) | TXD |
| 5V | Vcc |
| GND | GND |
Here is the arduino sketch. You can also view it on github
I didn't want to use the delay macro supplied from the Arduino library in the main loop since I want the device to be responsive and not miss any received characters. The delay is created by simply decrementing a variable. I like to have my embeddded projects to blink an LED at the very least so that I know the program is executing.
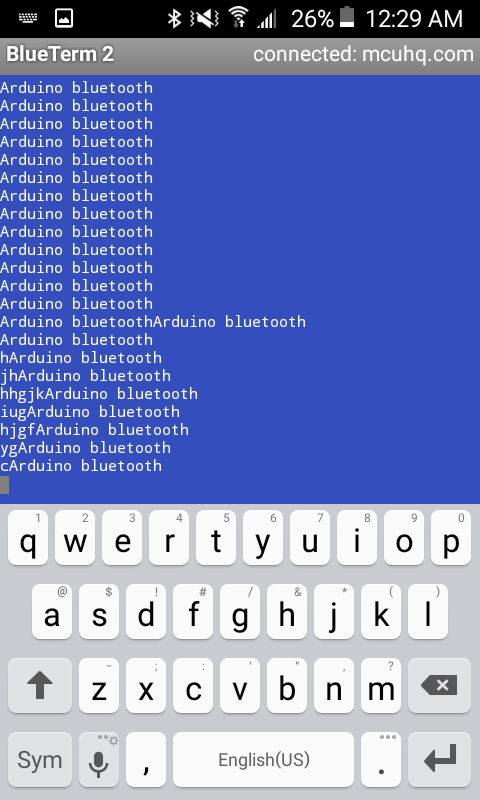
The code will print out the string Arduino bluetooth on default every 500ms. It will echo back any received character from your phone during execution as well.
Android Test
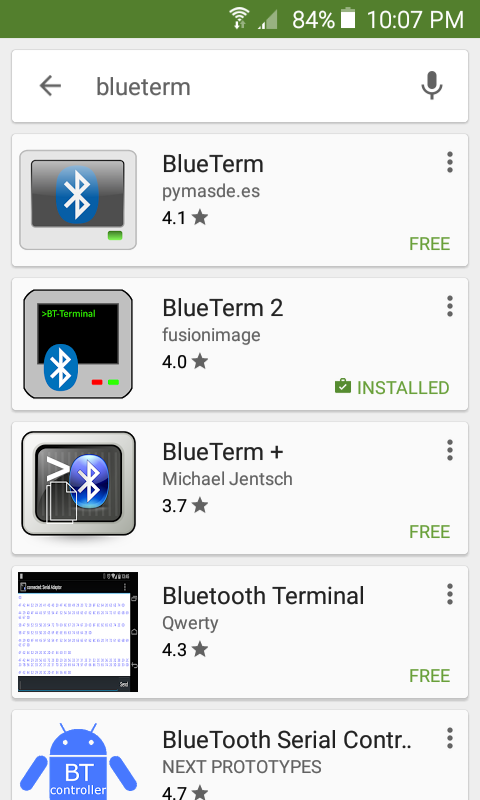
- Download an app called BlueTerm2 from the play store.

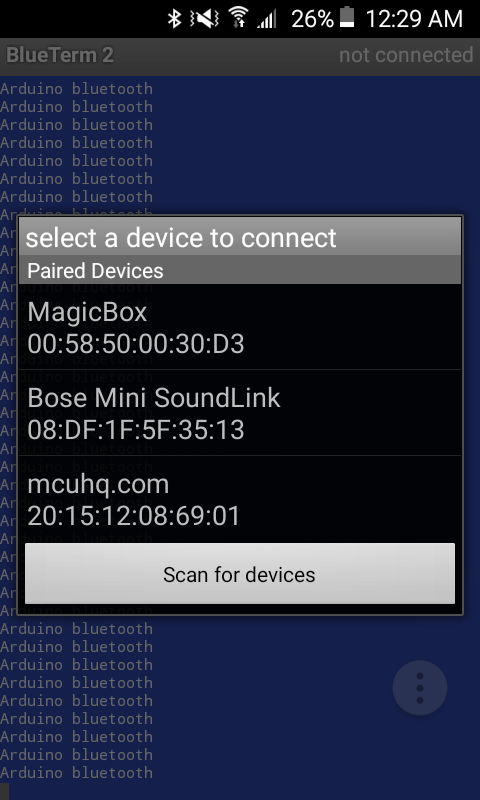
- Once installed, open up the app click the "Connect device" button.
- You should see the Bluetooth device come up called "hc-06" or "mcuhq.com" in my case since I changed the name of my device.

- Connect to the device to see the
Arduino bluetoothtext being printed to the screen. - Touch a key to send a character and see it echoed back.

You can optionally comment out the Arduino bluetooth text if you just want the Arduino to echo back whatever data was received
Expanding the Demo
Toggling an I/O such as an LED, Relay, Motor, etc can be added to the code. You can now control functionality from your phone! You can easily map single characters to actions made on the microcontroller. I will be adding other various bluetooth demos with other microcontroller vendors utilizing the hc-06 due its low-cost and availability.
I would just like to point out that this simple code used 3,112 bytes of flash and 182 bytes of RAM! This is a TON of space required by the software UART library and delay routines. I suppose this should not be too surprising considering that the Arduino is a platform to get you easily up and running without efficiency necessarily in mind.
